OwnCloud On Raspberry Pi: Your Private Cloud Guide!
Tired of entrusting your precious data to tech giants? Imagine a world where your files reside on a server you control, accessible from anywhere, yet safely tucked away in your own digital domain. Thats the promise of a private cloud, and its more attainable than you think.
The idea of owning your data is becoming increasingly appealing. With concerns about privacy breaches and the ever-rising costs of subscription-based cloud services, many are seeking alternatives. Enter the Raspberry Pi, a versatile and affordable mini-computer, and OwnCloud, an open-source software solution. Together, they form a powerful combination that allows you to create your own personal cloud server, putting you back in control of your data.
| Topic | Description |
|---|---|
| What is Raspberry Pi? | Raspberry Pi is a series of small single-board computers developed in the United Kingdom by the Raspberry Pi Foundation to promote the teaching of basic computer science in schools and developing countries. |
| What is Owncloud? | ownCloud is a suite of client-server software for data synchronization and file sharing. ownCloud provides access to files through a web interface, or via ownCloud clients for desktop and mobile systems. |
| Raspberry Pi and Owncloud Combination | A private and versatile cloud storage server at home. |
| More Information | Owncloud Official Website |
The beauty of this setup lies in its simplicity and flexibility. You dont need to be a tech guru to get started. With readily available guides and a supportive online community, setting up a raspberry pi owncloud server is within reach for anyone with basic computer skills. This detailed guide walks you through the process, offering a secure and personal alternative to mainstream cloud services. It's perfect for those looking to manage their data privately and learn how to leverage the capabilities of Raspberry Pi with ownCloud for file management, collaboration, and more.
Why embark on this DIY cloud journey? The advantages are numerous. First and foremost, you regain control over your data. No more worrying about who has access to your files or whether they are being used for purposes you didnt agree to. You set the rules. Secondly, you save money. While theres an initial investment in the Raspberry Pi and a few accessories, the long-term costs are significantly lower than subscribing to a commercial cloud service, especially if you need a substantial amount of storage.
Furthermore, a Raspberry Pi OwnCloud server offers enhanced security. You decide on the security measures, ensuring your data is protected according to your own standards. You can implement encryption, strong passwords, and other security protocols to safeguard your files. This is particularly important for sensitive data that you wouldnt want to entrust to a third-party provider. And, you have the flexibility to expand your storage as needed. Simply connect an external hard drive to your Raspberry Pi, and youve got more space to store your growing collection of files.
There are, of course, other ways to obtain cloud storage. The market is flooded with options like Dropbox, Google Drive, and Apple's iCloud. These services offer convenience and ease of use, but they come with trade-offs. You're entrusting your data to these companies, relying on their security measures and agreeing to their terms of service. For some, this is an acceptable compromise. For others, the desire for greater control and privacy outweighs the convenience.
- Texas Rangers Roster News Updates Latest Moves More
- Price Is Right Models Salaries What They Really Make
Choosing the right cloud software for your Raspberry Pi can greatly affect your personal cloud storage experience. With options like OwnCloud and NextCloudPi, youll find varied features that cater to your specific needs. Both offer file sharing, synchronization, and collaboration capabilities, but they differ in their approach and features. OwnCloud is known for its ease of use and extensive app ecosystem, while NextCloudPi is designed to be a complete, pre-configured solution for Raspberry Pi.
Before diving into the setup process, it's essential to choose the right Raspberry Pi model. For a Raspberry Pi that functions as a server for OwnCloud, the Raspberry Pi 2 Model B or a more powerful model is recommended. Otherwise, upload and download speeds can be relatively slow, although this also depends on the internet connections file transfer speed. The Raspberry Pi 4 is an excellent choice, offering significantly improved performance compared to its predecessors. It boasts a faster processor, more RAM, and Gigabit Ethernet, all of which contribute to a smoother and more responsive cloud experience.
Once you have your Raspberry Pi, youll need a few other essential components: an SD card (or Micro SD if using Pi 2 or B+) to install the operating system and software, an Ethernet cable (or Wi-Fi dongle, not required for Pi 3 or 4) for network connectivity, and a power supply. An external hard drive is also highly recommended for storing your files. A reliable and spacious external drive will ensure you have ample space for your growing data collection. With the hardware in place, the next step is to install the operating system. Raspberry Pi OS (formerly Raspbian) is the most popular choice, and its easy to install using the Raspberry Pi Imager tool.
With the operating system installed, its time to install Docker. Docker is a containerization platform that makes it easy to deploy and manage applications. It simplifies the installation process and ensures that OwnCloud runs smoothly on your Raspberry Pi. To install Docker, youll need to open a terminal window and run a few commands. Detailed instructions can be found on the Docker website or in numerous online tutorials. Once Docker is installed, you can install OwnCloud using the official OwnCloud Docker image.
This official image works standalone for a quick evaluation but is designed to be used in a Docker Compose setup. Docker Compose is a tool for defining and running multi-container Docker applications. It allows you to define all the services your application needs in a single file, making it easy to deploy and manage complex applications. With Docker installed, OwnCloud is ready on your Raspberry Pi with just a few command lines. Youll need to create a Docker Compose file that defines the OwnCloud service and its dependencies. This file specifies the image to use, the ports to expose, and the volumes to mount.
Once the Docker Compose file is created, you can start the OwnCloud service by running the `docker-compose up` command. This will download the OwnCloud image and start the container. After the container is running, you can access OwnCloud by opening a web browser and navigating to the Raspberry Pis IP address. Youll be greeted with the OwnCloud setup wizard, which will guide you through the process of creating an administrator account and configuring your storage settings. Youve successfully set up your Raspberry Pi 4 NAS server with OwnCloud.
Now you have a secure, private cloud storage solution that you control. You can access your files from anywhere with an internet connection, share files with others, and collaborate on documents. OwnCloud offers a wide range of features, including file versioning, activity logging, and user management. You can also extend OwnClouds functionality by installing apps from the OwnCloud app store. These apps add features such as calendar synchronization, contact management, and document editing.
If your private cloud server is only for your personal use, theres no need for a server at all. The solution is incredibly simple and flexible. OwnCloud set on Raspberry Pi can be a good example of smart cloud storage. Cloud storage is a cloud computing model in which the data is stored on remote servers and maintained by a cloud storage provider. The setup is then compared to commercial cloud services and the NIST cloud computing characteristics.
In this guide, well explore how to set up a robust cloud storage system using popular solutions like NextCloud, OwnCloud, or Seafile, complete with remote access capabilities and automated backup features that rival commercial cloud platforms. Why choose Raspberry Pi for cloud storage? The Raspberry Pi offers a compelling solution for several reasons. Its affordable, energy-efficient, and readily available. Its also a versatile platform that can be used for a wide range of projects. The idea of a private cloud your own little corner of the internet seemed exciting. This tutorial is all about setting up your own private cloud server on your own network using Raspberry Pi.
You can learn more about OwnCloud at their website at owncloud.org. Equipments raspberry pi 2/3/4 SD card / Micro SD (if you are using Pi 2 or B+) Ethernet cable or Wi-Fi dongle (not required for Pi 3 or 4). Creating a Raspberry Pi cloud server with OwnCloud gives you the power to perform the same kind of tasks as clouds from major providers such as Google, Amazon, and Dropbox. Remote access with Raspberry Pi and NoMachine is also possible.
Setting up your own cloud server with Raspberry Pi and OwnCloud is an affordable and efficient way to store and manage your files securely. By following the steps outlined in this guide, you can create a private cloud that allows you to maintain control over your data while enjoying the flexibility and convenience of cloud storage. Transform your Raspberry Pi into a powerful, private cloud server with OwnCloud.
This is where OwnCloud and Raspberry Pi come in. How to set up a Raspberry Pi OwnCloud server is a common question, and the answer is surprisingly straightforward. With OwnCloud software, your Raspberry Pi can be used as a private cloud, performing the same kind of tasks as clouds from major providers such as Google, Amazon, and Dropbox. Set up your own cloud storage server to access your data anywhere with OwnCloud and a Raspberry Pi. OwnCloud can be installed using the official OwnCloud Docker image.
If youre looking to set up a private, versatile cloud storage server at home, running OwnCloud on a Raspberry Pi via Docker is an excellent option. Downloading NextCloud on your Raspberry Pi is also a similar process. Getting NextCloud on your Raspberry Pi is quite simple; it mainly involves downloading the ZIP file from their website, extracting it, and then making some configurations. In this project, we are going to set up an OwnCloud server on the Raspberry Pi. This server can act as your very own personal cloud storage. If this is the case, then this tutorial is perfect for you.
With this done, we can now proceed to install NextCloud on our Raspberry Pi. To enable SSH access for the Raspberry Pi, go to networking > SSH in the NextCloudPi web interface. Click the active checkbox and enter a password for the pi account. Finally, click apply to start the SSH service on the Raspberry Pi. By default, the password "raspberry" is set up for the user "pi."
The cloud has transformed the way we manage and access our data. The rise of cloud services like Dropbox, Google Drive, and iCloud has made it incredibly convenient to store and share files across multiple devices. However, this convenience comes at a price. Concerns about data privacy, security vulnerabilities, and recurring subscription fees have led many users to seek alternative solutions.
And then came the whole cloud thing public, private, hybrid talk about information overload! But as I dug deeper, I realized the cloud wasnt just for tech giants like Google or AWS. It could be for anyone. The idea of a private cloud your own little corner of the internet seemed exciting. For a Raspberry Pi that functions as a server for OwnCloud, we recommend the Raspberry Pi 2 Model B or a more powerful model; otherwise, upload and download speeds can be relatively slow (however, this also depends on the internet connections file transfer speed).
Whether youre a tech enthusiast, a privacy advocate, or simply someone looking to save money on cloud storage, setting up a Raspberry Pi OwnCloud server is a rewarding project. Its a chance to learn new skills, take control of your data, and create a personalized cloud experience. So, grab your Raspberry Pi, gather your tools, and get ready to embark on your private cloud adventure.
- Josh Gates Net Worth 2024 How Rich Is He Really Find Out
- Patrick Mahomes House Inside The Chiefs Qbs Stunning Home
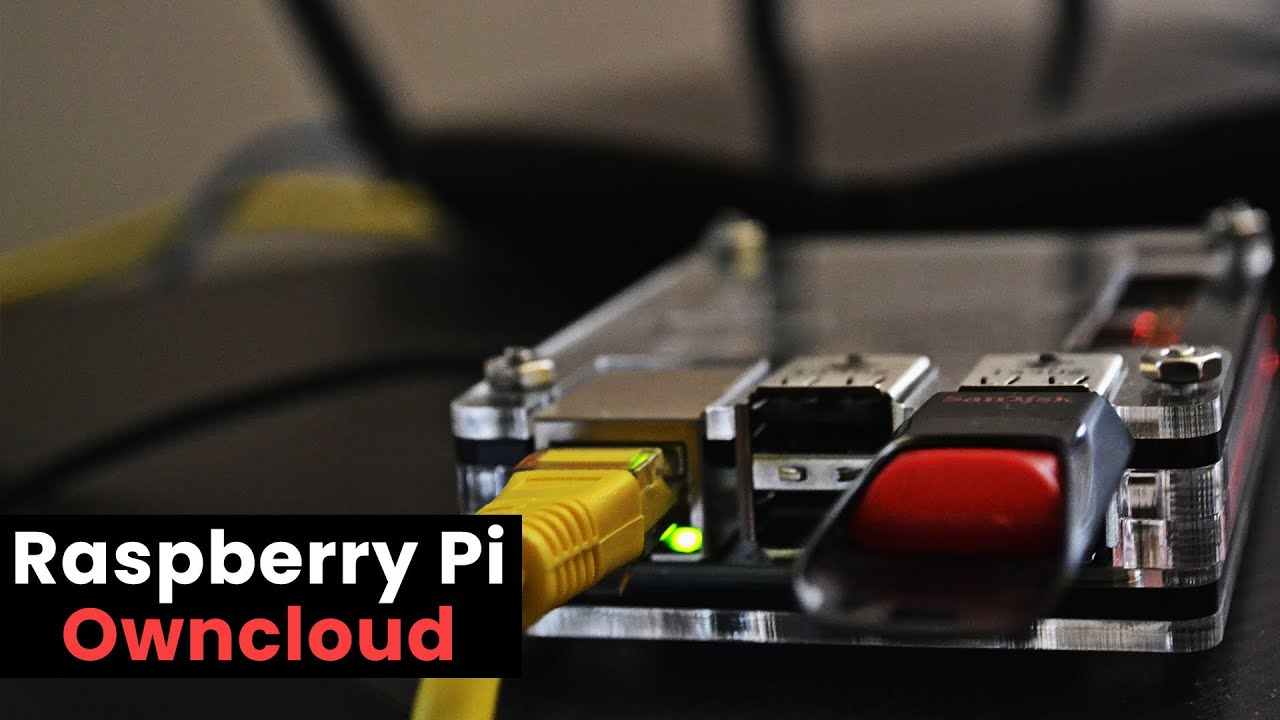
Raspberry Pi OwnCloud Your Own Personal Cloud Storage YouTube
How to Create a Raspberry Pi Cloud Server with ownCloud Step by Step
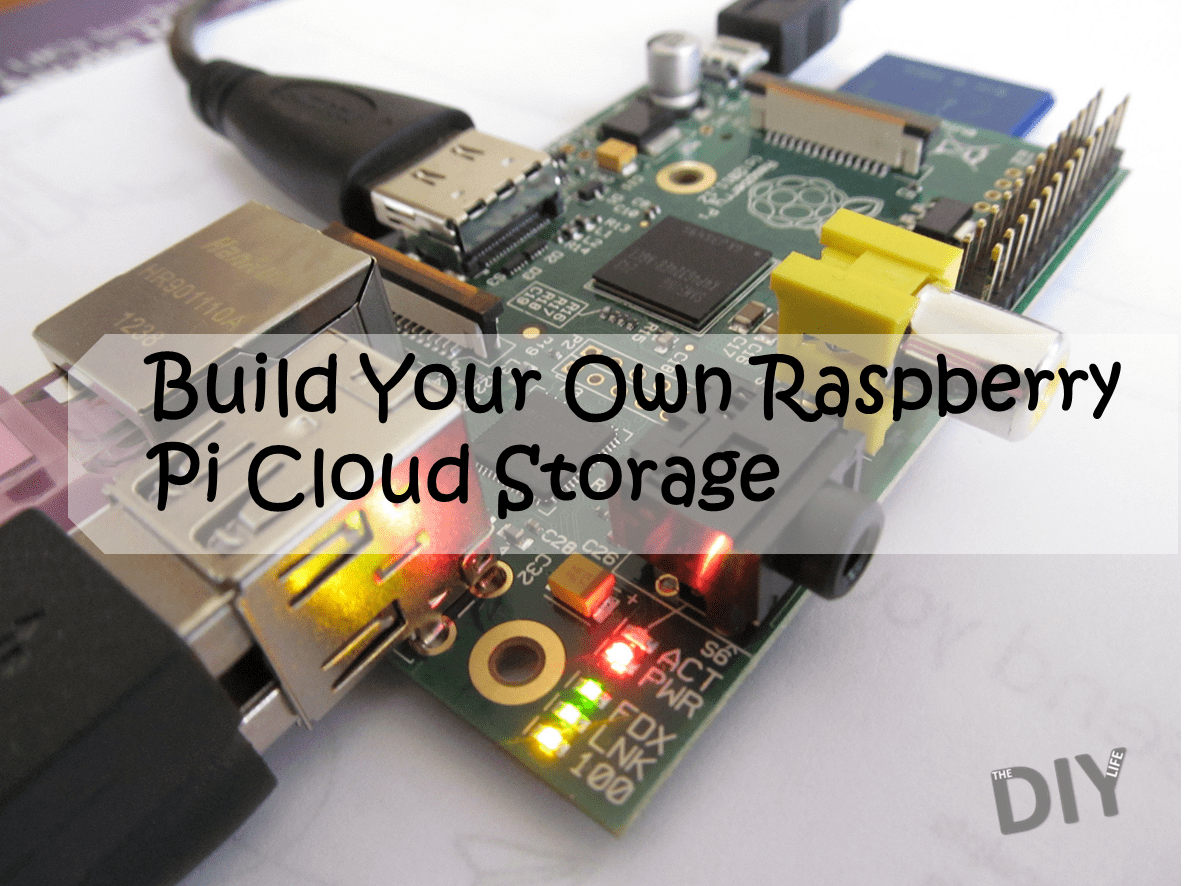
Build Your Own Raspberry Pi Cloud Storage The DIY Life
